Best Camera Settings for Dubai Frame: A Practical Guide
If you’re planning to snap the Dubai Frame, you don’t need a pro setup. A few tweaks to your camera can turn a regular shot into a standout photo. Below you’ll find the most useful settings for daylight, sunset, and night shots, plus quick gear hints.
What to Shoot at the Dubai Frame
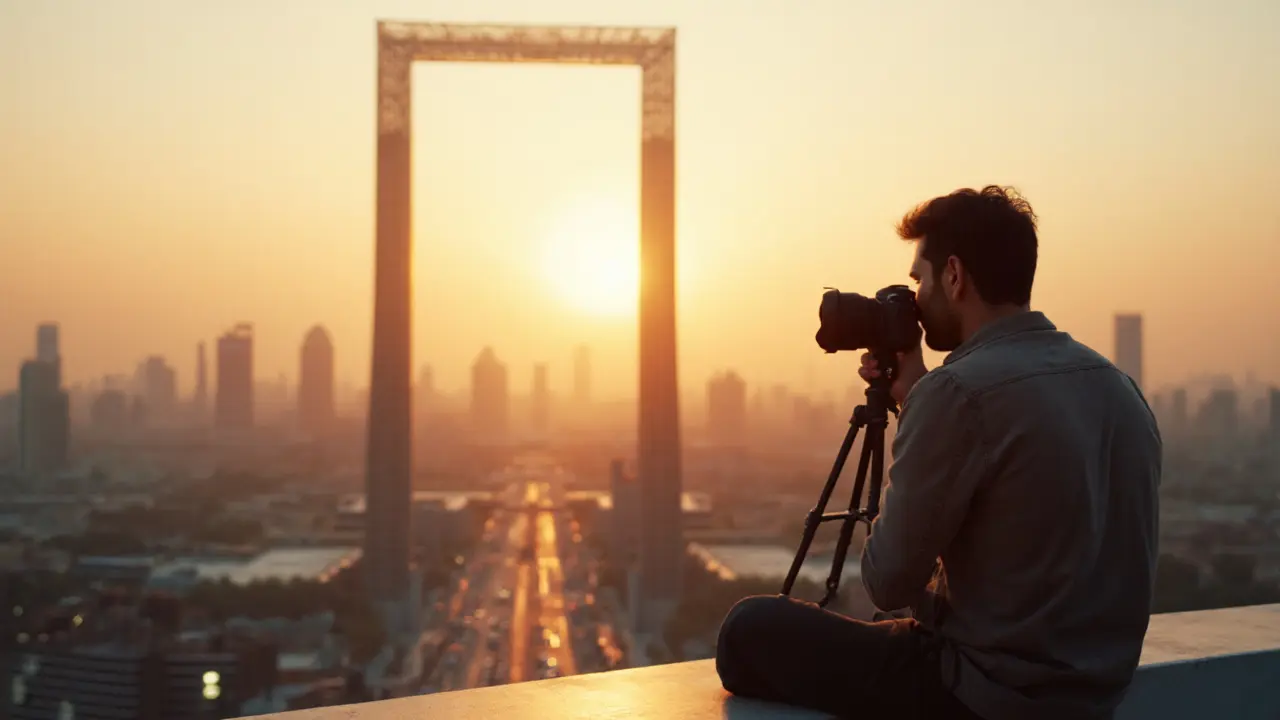
The Frame works as a backdrop for cityscapes, a subject for architectural detail, and a night‑light spectacle. In the morning the glass reflects the sky, giving a clean, blue‑white look. Around sunset the golden light outlines the steel, perfect for silhouettes. At night the LED rings glow, so you want to capture color without grain. Knowing what you want helps you pick the right settings.
Step‑by‑Step Setting Guide
Aperture: For sharp details across the whole frame, aim for f/8 to f/11. This gives enough depth of field without slowing you down too much. If you’re focusing on a specific detail, like the crown or a reflection, you can open up to f/4 or f/5.6.
ISO: Keep ISO low in daylight – 100 or 200 – to avoid noise. In the evening, raise it to 400‑800 if you don’t have a tripod. For full night shots, bump it to 1600‑3200, but use noise‑reduction in post‑processing.
Shutter Speed: With good light, 1/125 s to 1/250 s works fine. When the sun is low, drop to 1/60 s to let more light in. For night, you’ll need longer exposures – start at 1‑2 seconds with a tripod, and go up to 5‑10 seconds for the LED glow. Use a remote or timer to avoid shake.
Focus Mode: Switch to single‑point autofocus and place the dot on the part of the Frame you want crisp. For night, manual focus often works better; set focus to infinity and fine‑tune by zooming in on the live view.
White Balance: Daylight mode works in the sun. As the sky changes, use “Shade” or “Cloudy” to keep colors warm. At night, set white balance to “Tungsten” or manually adjust to 3200 K to keep the LED colors true.
Lenses: A 24‑70 mm zoom covers most angles. If you have a wide‑angle (16‑35 mm), you can capture the whole skyline behind the Frame. A 70‑200 mm helps isolate the structure from a distance.
Tripod & Filters: A small tripod stabilizes long exposures at night. A neutral density (ND) filter lets you use slower shutter speeds during daylight for a smoother look, but it’s optional.
When you finish shooting, review the histogram. Aim for a balanced curve with no clipping on the highlights. Adjust exposure compensation (+0.3 to +1 EV) if the frame looks too dark against the sky.
Finally, back up your files, edit a bit to boost contrast, and you’ll have a clean, striking Dubai Frame photo that looks great on Instagram or your travel blog.
Master Dubai Frame Photography: Proven Tips & Tricks for Perfect Shots
- Date: 24 Sep 2025
- Categories:
- Author: Leon Mercer
Learn how to capture stunning Dubai Frame photos with expert gear advice, lighting tricks, composition hacks and post‑processing tips. Perfect your shots every time.